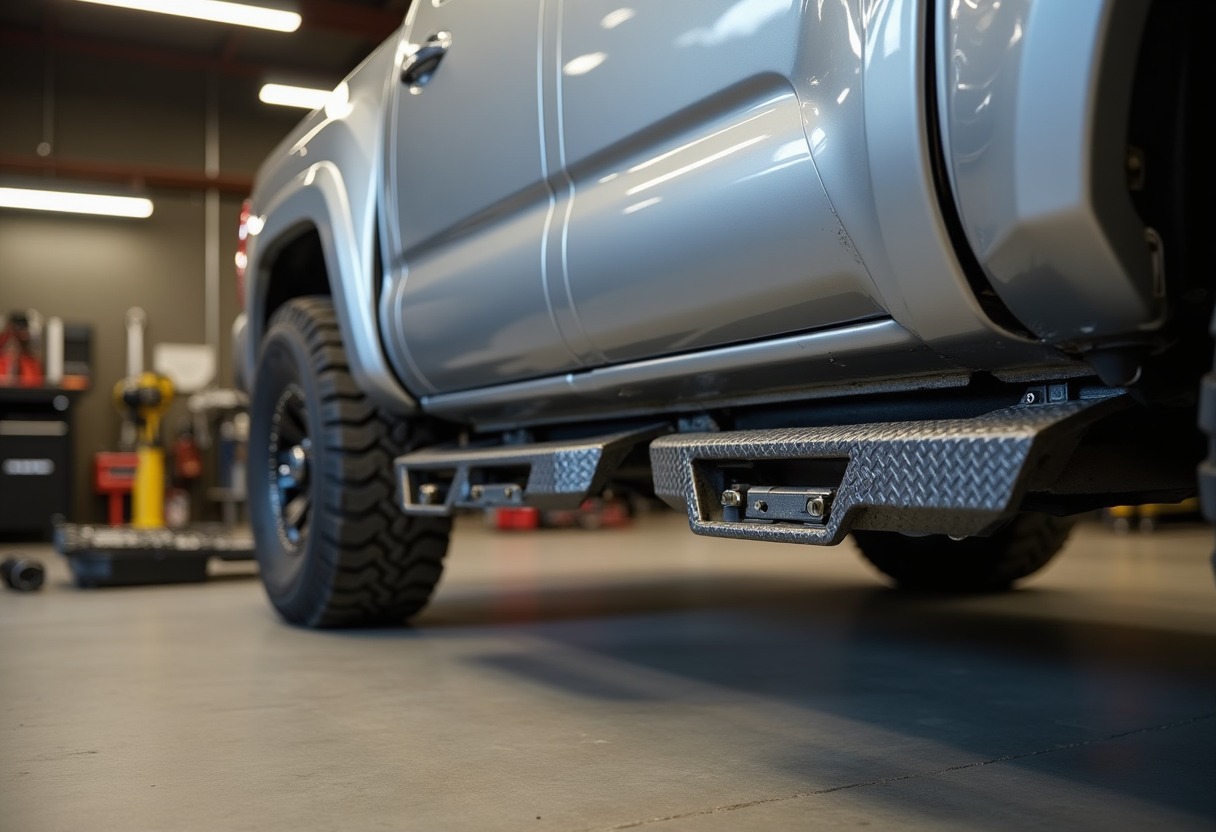
Toyota Tacoma rock sliders fail when you need them most if they're not engineered for your specific trail demands. The mounting method determines whether your sliders protect your truck's vulnerable rocker panels or create expensive damage when they fold under pressure.
Why Tacoma Rock Sliders Matter More Than Most Realize
The Tacoma's pinch seams and rocker panels sit 8.5 inches off the ground on stock suspension, making them prime targets for rock damage. According to Motor Trend's analysis of off-road damage patterns, side impact damage accounts for 34% of trail repairs on mid-size trucks, with rocker panel replacement costs averaging $2,800-4,200 when structural damage occurs.
Rock sliders transfer impact loads away from thin sheet metal to either your frame rails or dedicated mounting points. The mounting method determines load distribution effectiveness. Bolt-on systems rely on existing holes or brackets that concentrate stress, while weld-on systems spread forces across multiple connection points welded directly to the frame.
Third-generation Tacomas (2016+) have specific mounting challenges. The factory side steps use plastic clips and thin mounting tabs that won't support rock slider loads. The frame rails taper from 3.2 inches at the front mount to 2.8 inches at the rear, requiring sliders designed for this geometry.
Bolt-On Rock Slider Systems: Quick Installation With Limitations
Bolt-on Tacoma rock sliders mount through existing holes or bracket systems, making installation possible with basic hand tools in 2-4 hours. Most quality bolt-on systems use 10.9-grade bolts with threadlocker and backing plates to distribute mounting loads.
→ Shop Toyota Tacoma rock sliders on Amazon
The primary advantage of bolt-on systems is reversibility. You can remove them without permanent modifications to your truck, preserving resale value and warranty coverage. Installation typically requires jack stands, a torque wrench, and basic wrenching skills.
However, bolt-on systems have inherent structural limitations. Each mounting point creates a stress concentration where the bolt passes through the frame. Under heavy side loads, these stress points can cause frame damage or slider failure. The mounting hardware becomes the weak link in the protection system.
Load distribution varies significantly between bolt-on designs. Systems that mount to multiple frame points distribute forces better than those relying on two or three mounting locations. Quality bolt-on sliders use backing plates that spread loads across larger frame areas, reducing stress concentration.
Weight capacity matters for bolt-on systems. Most are rated for static loads of 300-500 pounds, sufficient for using them as steps or jack points. Dynamic impact loads create much higher forces that can exceed these ratings.
Weld-On Rock Sliders: Maximum Protection Through Frame Integration
Weld-on rock sliders integrate directly with your Tacoma's frame structure, creating a continuous load path that distributes impact forces across multiple frame sections. Professional installation typically costs $200-400 in labor, with the entire process requiring 4-6 hours including prep work.
→ Shop bolt-on side protection on Amazon
The welding process requires removing paint and primer from mounting areas, cleaning the frame to bare metal, and creating full-penetration welds at multiple connection points. Quality installations use 7018 welding rod or ER70S-6 MIG wire, matching the frame steel's properties.
Weld-on systems excel in load distribution. Instead of concentrating forces at bolt holes, welded connections spread loads continuously along the weld bead length. This distribution prevents the stress concentrations that can crack frames around bolt-on mounting points.
Impact resistance significantly improves with welded mounting. The slider becomes part of the truck's structure rather than an accessory bolted to it. Under side impact, loads transfer through the slider's full length rather than concentrating at mounting bolts.
The primary drawback is permanence. Removing welded sliders requires cutting and frame repair work. Most quality systems are designed to stay permanently installed, making this a one-way modification decision.
Bolt-On vs Weld-On: Critical Differences Compared
| Factor | Bolt-On Systems | Weld-On Systems | |--------|----------------|-----------------| | Installation Time | 2-4 hours | 4-6 hours + welding | | Typical Cost Range | $300-800 + installation | $400-1200 + welding | | Load Distribution | Concentrated at bolt points | Continuous along welds | | Impact Resistance | Limited by bolt strength | Integrated with frame | | Reversibility | Fully reversible | Permanent modification | | Professional Installation | Optional | Required for proper welding |
The load distribution difference becomes critical under real trail conditions. Bolt-on systems can handle moderate impacts and provide good step functionality, but high-energy side impacts may cause mounting bolt failure or frame damage around mounting points.
Weld-on systems distribute these same forces across the entire connection length, reducing peak stresses below the frame's failure threshold. This distribution difference explains why most serious rock crawlers and overlanders choose welded installations despite the added complexity.
→ Shop steel rock rails on Amazon
Cost analysis requires considering long-term durability. Quality bolt-on systems may require replacement after severe impacts, while properly welded systems typically last the truck's lifetime. The welding cost becomes part of a permanent upgrade rather than an ongoing maintenance expense.
Specific Product Categories and Installation Requirements
Plate-style rock sliders mount flush against the frame rails using large backing plates to distribute loads. Bolt-on versions work well for moderate trail use, while welded versions provide maximum protection. Expect 1.5-2 inch ground clearance loss with most plate designs.
Tube-style sliders use round or square tubing bent to follow the Tacoma's rocker line. The tube design provides good clearance for approach angles while maintaining strength. Most quality tube sliders use 2-inch diameter DOM tubing with 0.188-inch wall thickness.
→ Shop aluminum running boards on Amazon
Hybrid systems combine tube and plate elements, using tube construction for the main structure with plate mounting systems. These designs balance protection, clearance, and mounting strength.
Step integration varies between designs. Some sliders incorporate textured step surfaces, while others prioritize protection over step functionality. Consider how you'll use the sliders - primarily for protection or as functional steps for truck access.
Weight differences matter for payload calculations. Steel bolt-on systems typically weigh 60-80 pounds per pair, while welded systems can reach 100-120 pounds. Aluminum systems reduce weight by 30-40% but cost 20-50% more than equivalent steel designs.
Advanced Installation and Mounting Considerations
Frame preparation determines long-term durability for both mounting methods. Clean mounting surfaces thoroughly, removing all paint, primer, and surface contamination. Use degreasing solvents to eliminate oil residue that can compromise bolt torque or weld quality.
→ Shop off-road side armor on Amazon
Bolt torque specifications matter critically for bolt-on installations. Most Tacoma rock slider applications use M12 or 1/2-inch bolts torqued to 85-95 ft-lbs. Under-torquing allows movement that can elongate mounting holes, while over-torquing can crack the frame around mounting points.
Threadlocker application prevents bolt loosening from trail vibration. Use medium-strength threadlocker (Loctite 243 or equivalent) on mounting bolts. Avoid high-strength formulations that make future removal difficult.
For weld-on installations, preheating thick frame sections helps prevent cracking from thermal stress. The Tacoma's frame steel benefits from 200-300°F preheat when ambient temperatures drop below 40°F. This preheating reduces cooling rates that can create brittle weld zones.
Weld inspection should verify full penetration at all connection points. Visual inspection looks for complete fusion, consistent bead profiles, and absence of cracks or porosity. Quality welded installations show consistent bead color and uniform ripple patterns.
Post-installation protection prevents corrosion at mounting points and weld zones. Apply primer and paint to all exposed metal surfaces within 24 hours of installation. Use rust-preventive primer specifically designed for automotive applications.
Like the differences explored in our Ford Bronco Rock Sliders Steel vs Aluminum comparison, material choice significantly impacts Tacoma slider performance and longevity.
FAQ
Can I install bolt-on rock sliders myself without professional help? Most bolt-on Tacoma rock sliders can be installed with basic hand tools and mechanical knowledge. You'll need jack stands, a torque wrench, and 2-4 hours of time. The installation involves removing factory side steps (if equipped), positioning the sliders, and torquing mounting bolts to specification. However, proper frame preparation and bolt torque are critical for safety - if you're not comfortable with these requirements, professional installation ensures proper load distribution and prevents frame damage.
Do weld-on rock sliders void my Toyota warranty coverage? Weld-on modifications don't automatically void your entire warranty, but they can affect warranty claims for related components. Under the Magnuson-Moss Warranty Act, Toyota must prove that your modification directly caused a failure to deny warranty coverage. However, frame modifications near suspension mounting points could complicate warranty claims for suspension components. Document the installation with photos and keep all paperwork - quality professional welding rarely causes warranty issues, but poor installation work can create problems.
How much ground clearance do I lose with rock sliders installed? Most Tacoma rock sliders reduce ground clearance by 1-2 inches compared to stock rocker panels. Plate-style designs typically hang 1.5-2 inches below the frame, while tube designs can maintain closer to 1 inch of clearance loss. This reduction is offset by the protection they provide - damaged rocker panels create much worse clearance problems than properly designed sliders. Consider your typical trail conditions when choosing between maximum protection and minimum clearance loss.
What's the real-world durability difference between bolt-on and weld-on systems? Weld-on systems typically outlast bolt-on systems by a significant margin under heavy use conditions. Bolt-on mounting hardware can loosen from trail vibration or fail under high-impact loads, requiring retorquing or replacement. Quality weld-on systems become permanent parts of the truck structure and rarely fail unless subjected to extreme impacts that would damage the frame itself. For moderate trail use, quality bolt-on systems provide adequate durability, but serious rock crawling or frequent technical terrain favors welded installations.
Can I convert bolt-on sliders to weld-on mounting later? Converting existing bolt-on sliders to welded mounting is possible but often not cost-effective. The conversion requires removing the sliders, modifying mounting brackets for welding, professional welding work, and refinishing. Total conversion costs often exceed the price difference between bolt-on and weld-on systems purchased initially. If you're considering this upgrade, evaluate whether purchasing purpose-built weld-on sliders provides better value than converting your existing bolt-on system.
Rock slider selection ultimately depends on your specific trail demands and long-term truck plans - bolt-on systems serve weekend warriors well, while serious trail users benefit from the permanent protection that only proper welding provides.
Some links on this page are affiliate links. We may earn a small commission if you purchase through them, at no extra cost to you.
As an Amazon Associate we earn from qualifying purchases. This article contains affiliate links; if you buy through them we may earn a small commission at no additional cost to you.