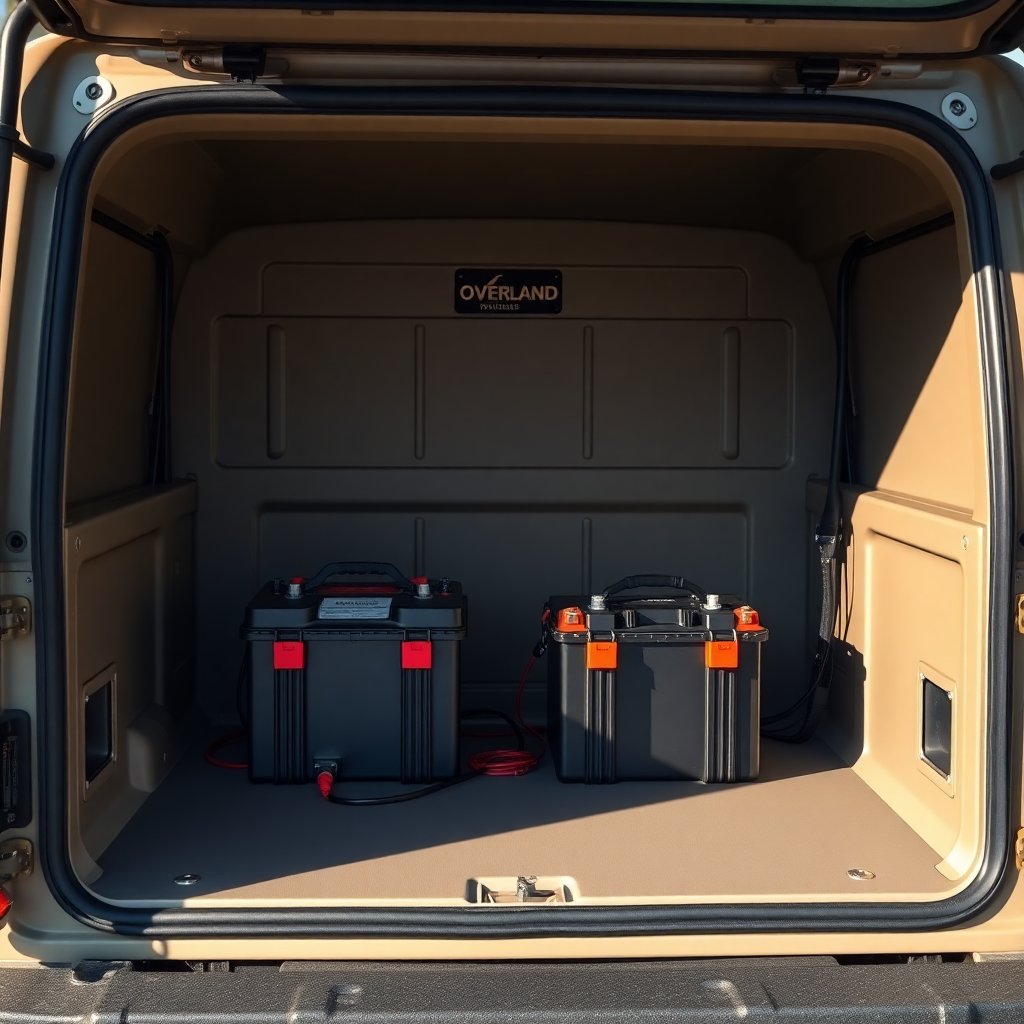
Running a fridge, charging phones, and powering a few lights overnight will flatten a single starter battery faster than most new overlanders expect. The fix almost everyone lands on is a second battery dedicated to "house" loads, kept separate from the one that cranks your engine. The part that trips people up is how to charge that second battery correctly, and that is where a DC-DC charger earns its place over the old-school isolator relay.
This guide walks through why the modern approach has shifted toward DC-DC chargers, how to size a house battery for the way you actually camp, the wiring and fusing you cannot skip, and the specific gear categories worth your money.
Why you want a second battery at all
Your starter battery has exactly one job: deliver a huge burst of current for a few seconds to spin the engine over. It is built for that and nothing else. Draw it down slowly overnight with a fridge and some lights, and two bad things happen. First, you risk waking up to a vehicle that will not start, which is a genuinely serious problem miles from pavement. Second, repeatedly deep-discharging a starter battery destroys it, because starter batteries are not designed to be run down and recharged over and over.
A dedicated house battery solves both. The starter battery stays topped off and ready to crank, and the house battery takes all the camp loads. If you somehow drain the house side completely, your engine still starts and recharges it. That isolation, keeping the two jobs on two batteries, is the whole point of a dual battery system.
If your current recovery plan for a dead battery is a lithium jump pack, that is smart insurance to keep regardless, and I cover options in the portable jump starter guide. A dual battery setup reduces how often you will ever need it.
Isolator vs DC-DC charger: why the old way fell out of favor
For decades the standard trick was a voltage-sensitive relay, often called a VSR or a battery isolator. When the alternator pushed the system voltage up after startup, the relay closed and simply paralleled both batteries so the alternator charged them together. When you shut off, the relay opened and separated them so camp loads only touched the house battery.
That works, but it has two real weaknesses. The relay just connects the two batteries directly, so the house battery only ever sees whatever raw voltage the alternator happens to be producing. Modern vehicles with smart or variable-voltage alternators often drop charging voltage to improve fuel economy, which means the house battery may never get a full, proper charge. The second problem is specific to lithium: an AGM starter battery and a lithium house battery want very different charging profiles, and wiring them straight together through a relay serves neither well.
A DC-DC charger fixes both issues. It takes whatever the alternator gives it and converts that into a regulated, multi-stage charge tuned to your house battery's chemistry. It will pull a full charge even from a smart alternator, and it protects the starter battery by limiting how hard it draws. For any build using a lithium house battery, a DC-DC charger is effectively required rather than optional. Manufacturers like Renogy, Victron, and Redarc all make well-regarded units, and you can compare sizes and features across brands here: shop DC-DC battery chargers on Amazon.
A note on the solar input
Many DC-DC chargers include a built-in MPPT solar controller with a second input. That is genuinely useful for overlanding, because it lets you trickle the house battery back up from a folding solar panel on days you are parked and the engine is off. If you plan to add solar later, buying a DC-DC unit with that input now saves you from buying a separate controller.
Sizing the house battery to how you actually camp
The honest way to size a battery is to add up what you run and for how long, not to buy the biggest box that fits. Capacity is rated in amp-hours (Ah) at 12 volts. Here is a realistic picture of common overlanding loads.
- 12V fridge/freezer: the single biggest draw, but it cycles on and off. Budget roughly 30 to 50 Ah per day depending on ambient heat, size, and how often you open it. I break down fridge power draw in detail in the 12V fridge and freezer guide.
- Phone and device charging: small, call it 5 to 10 Ah per day for a couple of people.
- LED camp and interior lighting: modest, a few Ah per evening.
- Starlink or a laptop: a satellite dish and a working laptop can add 20 to 40 Ah per day, which surprises people. See the Starlink Mini overlanding setup guide for real numbers.
Add it up and a two-person fridge-and-lights build often lands around 50 to 70 Ah of daily use. The chemistry you choose then decides how big a battery that requires.
Lithium vs AGM, and why usable capacity matters
A lead-acid or AGM battery should only be drawn down to about 50 percent before you risk shortening its life, so a 100 Ah AGM gives you roughly 50 Ah of usable energy. A LiFePO4 (lithium iron phosphate) battery can be run down to around 80 to 90 percent of its rating with no harm, so a 100 Ah lithium delivers 80 to 90 usable Ah, in a package that weighs roughly a third as much. The background on discharge depth and cycle life is well summarized in the Wikipedia entry on deep-cycle batteries, which is worth skimming before you spend.
For most overlanders, a single 100 Ah LiFePO4 battery is the sweet spot: it covers a typical fridge-and-devices day with margin, it is light enough to mount high in the vehicle without hurting handling much, and prices have fallen hard over the last few years. Browse current capacities and brands with 12V LiFePO4 deep-cycle batteries on Amazon. If you camp in genuinely cold conditions, look specifically for a battery with low-temperature charge protection or an internal heater, because standard lithium should not be charged below freezing.
Wiring and fusing: the part you cannot wing
This is where a dual battery system goes from a shopping list to an install, and where cutting corners gets dangerous. A few non-negotiable principles.
Size your cable to the charger and the distance. A 40-amp DC-DC charger moving current from the engine bay to a battery in the cargo area needs heavy cable, commonly 4 AWG or larger over a long run, to avoid voltage drop that starves the charger. Undersized wire runs hot and wastes the very charge you are trying to capture. When in doubt, go one size larger.
Fuse close to both batteries. A fuse protects the wire, not the device, so you place one within a short distance of each battery terminal, right where the cable connects to the positive post. If a cable ever chafes through and shorts to the chassis, the fuse blows before the wire becomes a heating element. A compact fuse block also keeps your accessory circuits tidy and individually protected. Grab a proper 12V marine fuse block and inline fuse holders on Amazon.
Ground properly. The house battery negative needs a solid, clean connection back to the chassis and the starter battery negative. A poor ground causes charging problems that are maddening to diagnose because everything looks connected.
Mount the battery so it cannot move. A loose battery in a rollover or hard landing is a projectile and a short-circuit risk. Use a dedicated tray or a well-secured box bolted to structure, not just wedged behind a seat. Look at hold-down dual battery trays and mounting kits on Amazon sized to your battery's footprint.
If any of this feels past your comfort level, there is no shame in having a 12V specialist or an outfitter do the install. A clean, correctly fused install is cheap insurance against an electrical fire in a vehicle you sleep in.
Monitoring: know what you have left
Guessing at battery state of charge from voltage alone is unreliable, especially with lithium, whose voltage stays nearly flat across most of its range. A battery monitor with a shunt measures current in and out and tells you an actual percentage remaining, like a fuel gauge for your power system. It is one of the highest-value small additions to any build, because it turns "I think we are fine" into a real number before you commit to a second night off-grid. Compare options with 12V battery monitors with shunt on Amazon. Bluetooth models let you check state of charge from your phone inside the tent.
A sane build order
For someone starting from a stock vehicle, this sequence keeps costs staged and avoids rework:
- Decide chemistry and capacity first. A 100 Ah lithium house battery is the default for most. That choice drives everything downstream.
- Match the DC-DC charger to the battery and your alternator. A 25 to 30 amp charger suits a 100 Ah battery and typical daily driving; step up to 40 or 50 amps if you have a big alternator and short drive days. Get one with a solar input if solar is on the horizon.
- Buy quality cable, lugs, and fuses sized to the charger. Do not economize here.
- Mount and secure the battery, then wire and fuse it.
- Add a shunt-based monitor.
- Add solar panels last, once you know your real daily deficit and whether driving alone keeps you topped off.
What this does and does not replace
A dual battery system is for running your camp indefinitely as long as you drive occasionally. It is not a substitute for a dedicated jump pack if your starter battery itself fails, and it is not the same thing as a portable power station, which is a self-contained box you can carry away from the vehicle. Many overlanders eventually run both: a wired house battery for the fridge and fixed loads, and a portable unit for charging tools or powering a device at a picnic table away from the rig. If you want the grab-and-go route instead of a wired install, I compare those in the recovery and power coverage across the site.
The short version
A single starter battery cannot safely power an overland camp, and the modern, reliable way to add a second battery is a DC-DC charger feeding a LiFePO4 house battery, sized to your real daily draw, wired with correctly sized and fused cable, and watched with a shunt monitor. Start with the battery, match the charger, do the wiring right, and add solar only once you know your numbers. Done in that order, you get a system that quietly runs the fridge and keeps the lights on for as long as you want to stay out.
Affiliate disclosure: some links above are Amazon affiliate links, and purchases made through them may earn this site a small commission at no extra cost to you. That support helps keep the guides coming.
As an Amazon Associate we earn from qualifying purchases. This article contains affiliate links; if you buy through them we may earn a small commission at no additional cost to you.