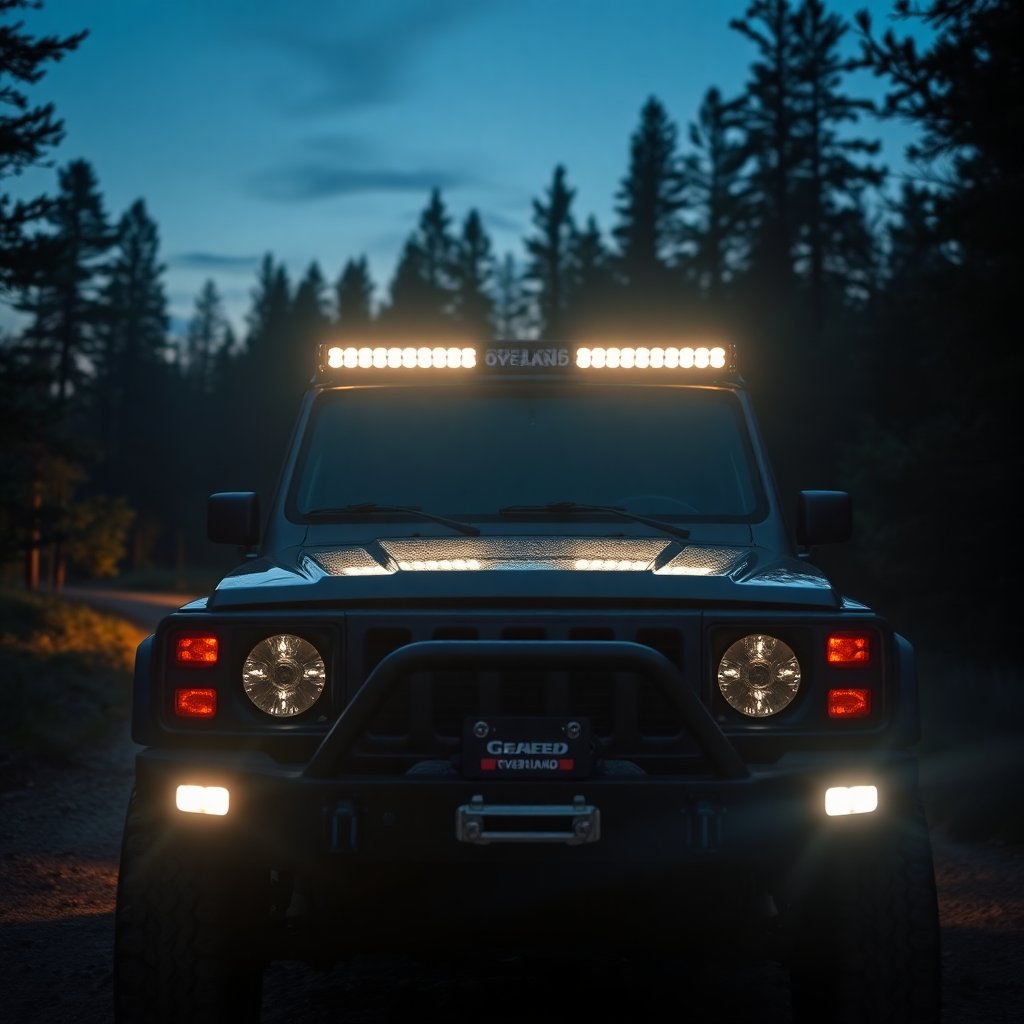
Fall is when off-road lighting stops being a want and becomes a need. Once the clocks change and sunset creeps toward 5 p.m., half your trail time happens in the dark, and factory headlights aimed for pavement leave the edges of the trail, the switchbacks, and the wildlife on the shoulder swallowed in shadow. Good auxiliary lighting turns a nerve-wracking night crawl into a relaxed one, and heading into the 2026 season the gear is brighter, cheaper, and better built than it has ever been.
This guide breaks down the three lighting jobs on an overland rig, the beam patterns and colors that actually matter, how to wire it all without cooking your electrical system, and where the legal lines sit so you do not collect a ticket on the drive to the trailhead.
Affiliate disclosure: some links below are Amazon affiliate links. If you buy through them, this site may earn a small commission at no extra cost to you.
The three jobs auxiliary lighting has to do
Overlanders tend to bolt on a giant light bar and call it done, then wonder why the trail still feels dark in the places that matter. The fix is to think in terms of jobs, not products. A well-lit rig covers three distinct tasks, and each wants a different light in a different place.
Distance. Seeing far enough ahead to read the trail at speed on open two-track or a forest road. This is the light bar's job, or a pair of driving lights.
Peripheral and corners. Lighting the sides of the trail, the inside of a switchback, and the ditch you are trying not to drop a wheel into. This is where ditch lights and cornering pods earn their keep.
Under and around the rig. Seeing your tires, your recovery points, and the ground right beside the truck when you are picking a line at a crawl or working at camp. That is the rock light's domain.
Cover all three and night driving transforms. Skip two of them and even a 2,000-dollar light bar leaves you squinting.
Beam patterns: spot, driving, and flood
Every off-road light ships with a beam pattern, and matching the pattern to the job is the single most important lighting decision you make. A great light in the wrong pattern is a waste of money and amperage.
Spot beams throw a tight, long pencil of light far down the trail but light almost nothing to the sides. Excellent for distance, useless for anything close.
Driving (or combo) beams blend a spot center with wider flood edges. For a single do-everything light bar, this is almost always the right call.
Flood (or cornering) beams spread a wide, short wash of light with no reach. Perfect for ditch lights, work lights, and anything meant to fill the near field.
The trap is buying all-spot because the marketing brags about lux numbers on a distant test wall. On a twisting trail you rarely see far ahead anyway, and a wall of raw distance with black holes on either side is genuinely worse than a balanced driving beam. For a deeper technical breakdown of how each lamp type is defined and regulated, the reference section on auxiliary lights in automotive lighting standards is a solid, manufacturer-neutral primer. When in doubt, buy a combo up front and add dedicated flood pods for the sides.
Amber vs white: the color question
Color temperature is the other spec people get wrong, and the honest answer is that it depends on conditions rather than on which looks cooler in the parking lot.
White light, in the 5,000 to 6,500 Kelvin range, renders detail best and matches your headlights, so it is the default for clear-night distance and general trail use. Most light bars and driving lights are white for good reason.
Amber (selective yellow) light cuts through dust, fog, snow, and rain far better because the longer wavelength scatters less off airborne particles and reflects less glare back at your eyes. If you overland in the desert, in wet Pacific Northwest fog, or through winter snow, amber pods aimed low are a real upgrade, not a styling choice. Many overlanders run white for the main light bar and amber for ditch or fog pods, getting the best of both. → Shop amber LED fog pods on Amazon
If you only run one color, go white for versatility. If you routinely fight weather, add amber where it counts.
Light bars vs ditch lights vs rock lights
Here is how the three main hardware categories map to those three jobs, and what to look for in each.
The light bar (or driving lights) for distance
A roof- or bumper-mounted bar is the classic overland upgrade and handles the distance job. Buy a combo beam in a size that fits your rig without wrecking aerodynamics or blocking airflow to the radiator. Bumper mounting beats roof mounting for one big reason: a roof bar reflects glare off the hood and off dust and snow right back into your eyes, while a low-mounted bar keeps the light below your sightline. If you go roof-mounted, wire it so it only comes on with the high beams and never during normal road driving. → Shop off-road LED light bars on Amazon
Look for a real IP rating (IP67 or better), a die-cast aluminum housing, and honest brand-name diodes rather than mystery-spec lumen claims. Cheap bars die from water intrusion and vibration long before their diodes wear out.
Ditch lights for corners and periphery
Ditch lights are small pods mounted at the base of the A-pillars or on the hood corners, aimed out and slightly down to light the sides of the trail and the inside of turns. For technical trails they are arguably more useful than a light bar, because at crawling speeds you care far more about where your tires are going than about what is 300 feet ahead. Run these as flood or wide-cornering pattern, and amber is a popular choice here for dusty conditions. → Shop A-pillar ditch light pods on Amazon
Rock lights for the crawl and for camp
Rock lights are low-power LEDs mounted under the body, in the wheel wells, and around the rocker panels to light the ground right beside and beneath the truck. On a technical crawl they let a spotter, or you leaning out the window, see exactly where a tire is about to place. At camp they double as ambient area lighting without the harshness of a work light in your eyes. Many kits now include RGB control so you can dial warm white for camp and bright white for the trail. → Shop LED rock light kits on Amazon
Wiring it without frying anything
More auxiliary lights fail from bad wiring than from bad diodes, so this is not the place to cut corners. The core rules are simple.
Use a relay or a switched fuse block. Auxiliary lights pull real current, and running that load through a dashboard switch will eventually melt it. A proper wiring harness with a relay lets the switch trigger the relay while the heavy current runs on thick wire straight from the battery. → Shop off-road light wiring harness kits on Amazon
Fuse close to the battery. Every circuit gets an inline fuse within a few inches of the positive terminal, sized to the wire, so a chafed wire trips the fuse instead of starting a fire.
Size the wire to the load, not the connector. A big light bar can pull well over 10 amps, and thin wire on a long run drops voltage and runs hot. When in doubt, go one gauge heavier.
Keep the total honest. Add up the amperage of everything you are installing and make sure your alternator and battery can carry it, especially if you also run a fridge, a compressor, and a diesel heater off the same house system. A dedicated auxiliary fuse block keeps the whole setup tidy and serviceable.
If your rig runs an onboard air setup as well, the same clean-power principles from our overland air compressor guide apply to lighting: dedicated feeds, proper fusing, and no daisy-chaining off a convenience circuit.
Staying legal on the drive there
Auxiliary off-road lighting exists in a gray zone, and the rules are worth knowing before a highway patrol officer explains them to you. The near-universal principle across most states is that non-DOT auxiliary lights, light bars especially, must be covered or switched off on public roads, and they must never be lit while you are approaching or following other traffic. Ditch and rock lights aimed low are less likely to draw attention than a blazing roof bar, but the safe habit is to wire everything so it physically cannot come on during normal road driving.
Specific limits on how many auxiliary lamps you can run, their mounting height, and their aim vary by state, so check your local vehicle code rather than assuming. The universal move is a dedicated switch that keeps the trail lights dark until you are actually off-pavement.
How lighting fits your cold-season kit
Lighting is a fall-and-winter priority precisely because that is when darkness eats your trail time, and it pairs with the rest of a cold-weather build. Long nights parked off-grid mean you lean on the systems that keep camp livable, which is exactly what our diesel heater guide for winter overlanding walks through. And because more of your driving happens in the dark and often solo, dependable communication matters more than in summer, which is where our GMRS radio guide comes in for keeping a convoy together after sunset.
What to buy for your setup
The weekend trail runner. A single combo-beam bumper light bar plus a relay harness with a proper switch. Covers the distance job cleanly and installs in an afternoon. Start here.
The technical-terrain driver. Skip the giant bar and prioritize a pair of amber ditch lights and a rock light kit. At crawling speeds, near-field visibility beats raw distance every time.
The four-season expedition rig. A combo bar for distance, amber flood pods for weather and corners, rock lights for the crawl and camp, all run through a dedicated fuse block sized to a house system that also feeds a fridge, compressor, and heater.
Bottom line
Auxiliary lighting is not about the biggest light bar you can bolt on. It is about covering three jobs, distance, periphery, and the near field, with the right beam pattern and color for each, then wiring it so it is safe, legal, and reliable. Match a combo beam for reach with flood ditch lights for the corners and rock lights for the crawl, add amber where weather demands it, fuse everything close to the battery, and keep it switched off on the road. Do that before the days get short and you will drive into fall and winter seeing everything the trail throws at you, instead of guessing at it in the dark.
As an Amazon Associate we earn from qualifying purchases. This article contains affiliate links; if you buy through them we may earn a small commission at no additional cost to you.